
前言
最近买到了一个好的域名,准备重新搭建一个博客。主要是想整理一些东西,方便以后重新部署。
准备工作
1 x 域名、1 x vps
软件:xshell或finalshell以及类似ssh工具
本次演示采用cloudflare购买的域名以及racknerd的vps,为方便管理,使用了宝塔面板海外版本aapanel。
域名购买
可以根据自己喜好在自己喜欢的服务商购买,演示采用的是cloudflare注册的.com域名,本人比较推荐cloudflare的com域名,在cf购买的com域名续费相对划算。cloudflare官网:www.cloudflare.com
也可以在这里注册白嫖域名:https://www.freenom.com/zh/index.html?lang=zh
vps选择
根据自己的喜好与价格来选择就好了。本次演示采用的vps是racknerd的便宜vps,他家经常做活动一年的vps经常只要一百来块钱。
你们也可以使用腾讯云、阿里云等国内知名厂商的vps。
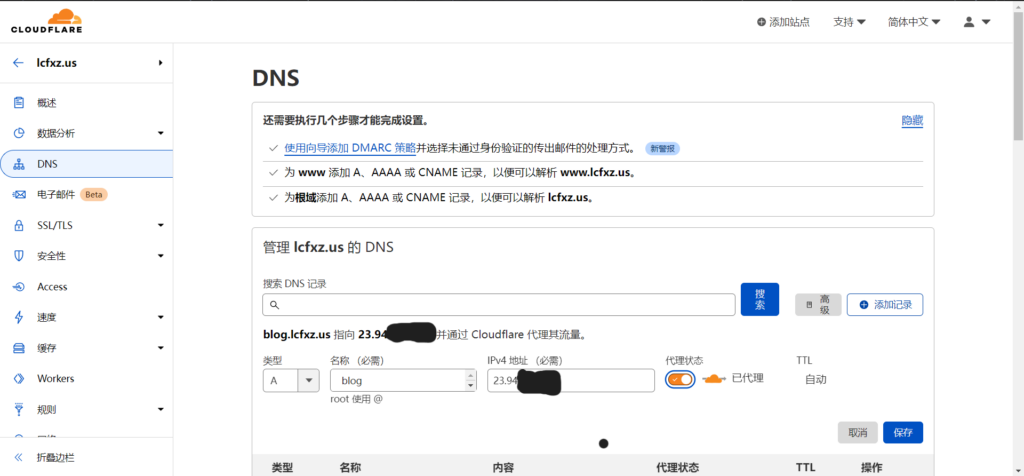
一·设置域名解析
在域名控制台为你的博客站添加一个A记录,这个网址就是后面用来访问博客的
在这里把代理状态关闭!
二·安装aapanel
使用ssh工具连接你的vps,推荐使用finalshell:http://www.hostbuf.com/t/988.html
使用已下命令安装aapanel
Centos:
yum install -y wget && wget -O install.sh http://www.aapanel.com/script/install_6.0_en.sh && bash install.sh aapanel

Ubuntu/Deepin:
wget -O install.sh http://www.aapanel.com/script/install-ubuntu_6.0_en.sh && sudo bash install.sh aapanel

Debian:
wget -O install.sh http://www.aapanel.com/script/install-ubuntu_6.0_en.sh && bash install.sh aapanel
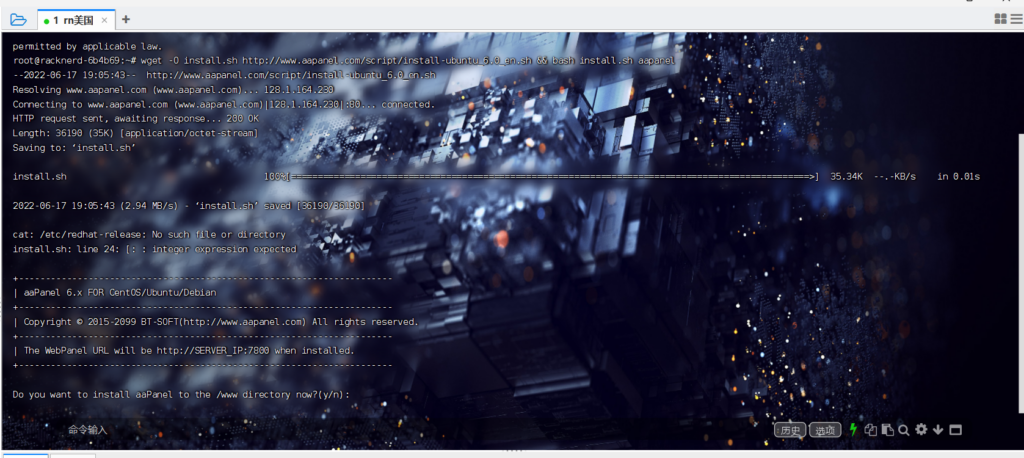
Do you want to install aaPanel to the /www directory now?(y/n): y
我们选择y
然后会询问我们需不需要开启面板ssl
Do you need to enable the panel SSl ? (yes/n): n
我们输入n,回车
然后等待面板安装完成,我们会得到一个登陆地址和用户名密码,记住,后续会用到
三·安装WordPress
我们登陆aapanel
进入后会建议你安装lnmp或lamp,本次演示使用lamp,安装如下所选几个就行
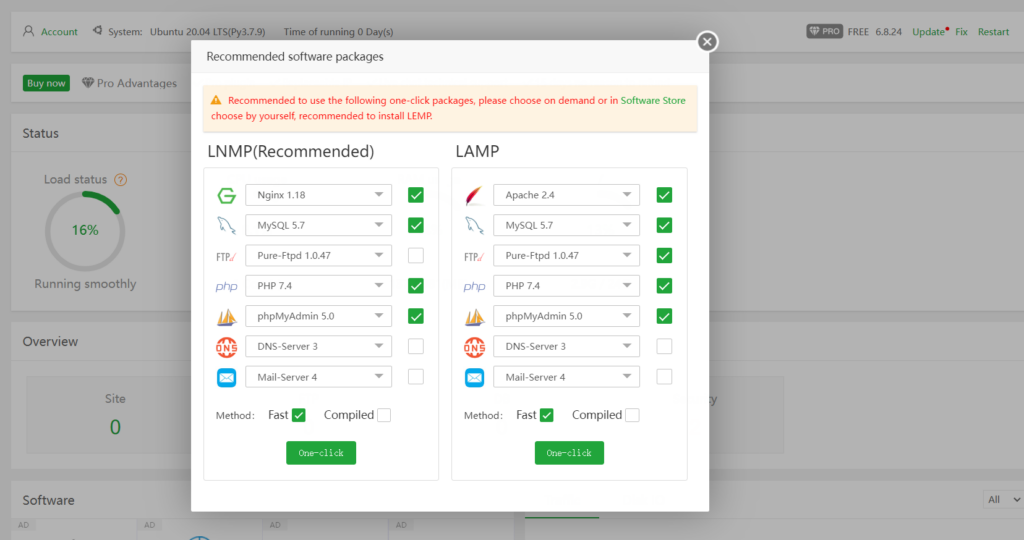
点击One-click一键安装,等待他安装完
点击website-add site 按下图依次填好域名,数据库等信息
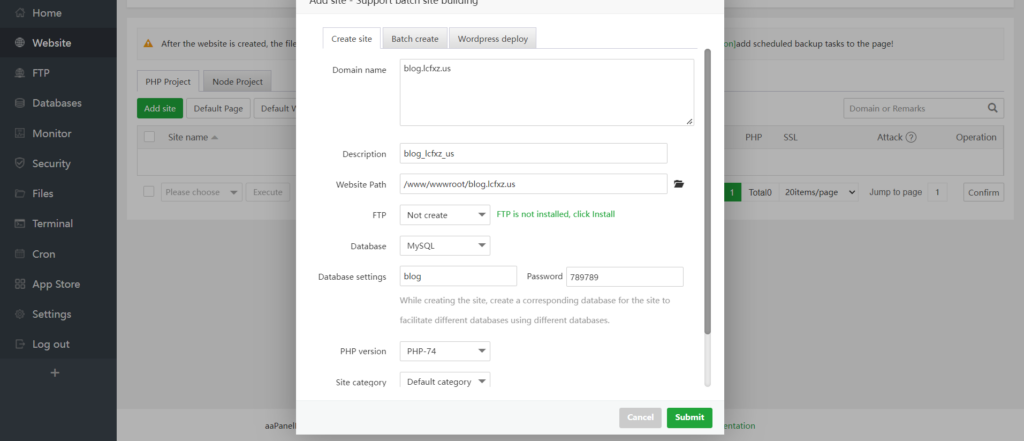
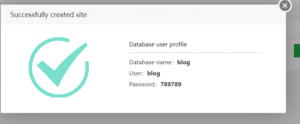
记好数据库名、数据库用户名和密码
点击进入文件夹
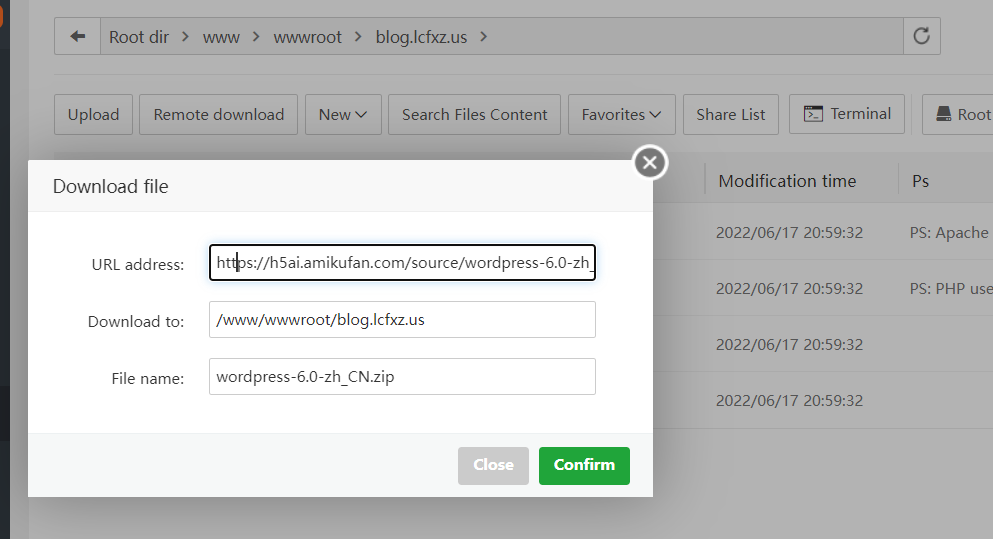
点击远程下载,并填入WordPress压缩包地址(本站提供文件下载https://h5ai.amikufan.com/source/wordpress-6.0-zh_CN.zip)
下载完成后点击文件右边unzip解压
同时修改网站目录至wordpress,保存
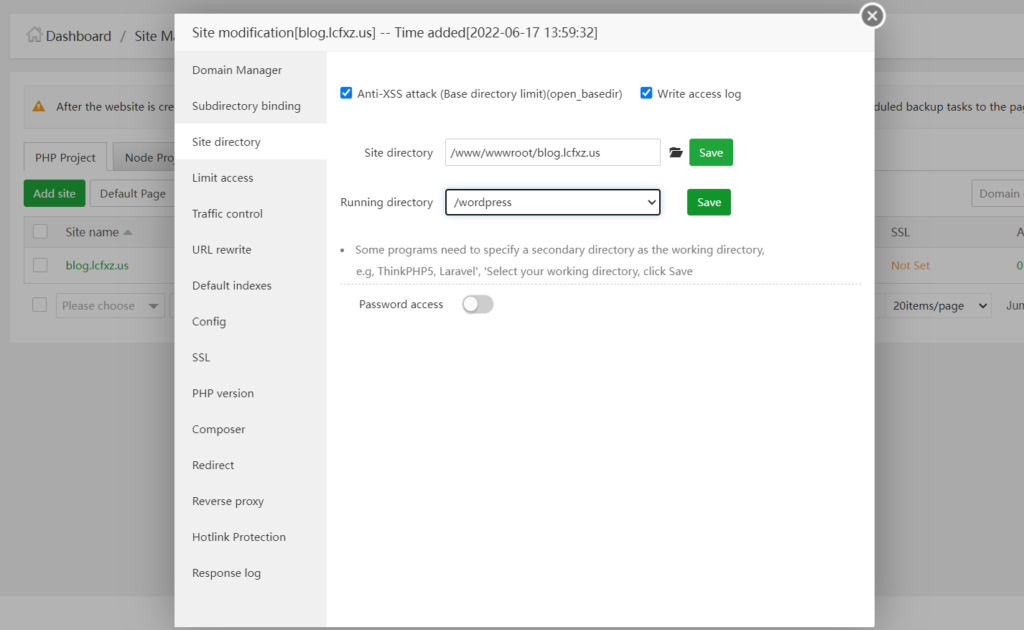
然后点击URL rewrite粘贴如下伪静态设置
location /
{
	 try_files $uri $uri/ /index.php?$args;
}

rewrite /wp-admin$ $scheme://$host$uri/ permanent;
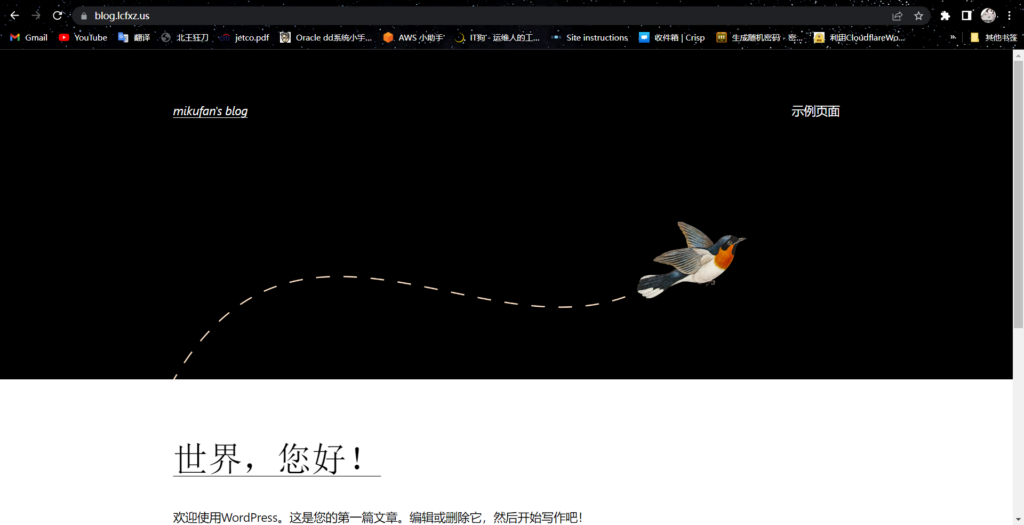
这时候就可以访问你的博客网址了,如图
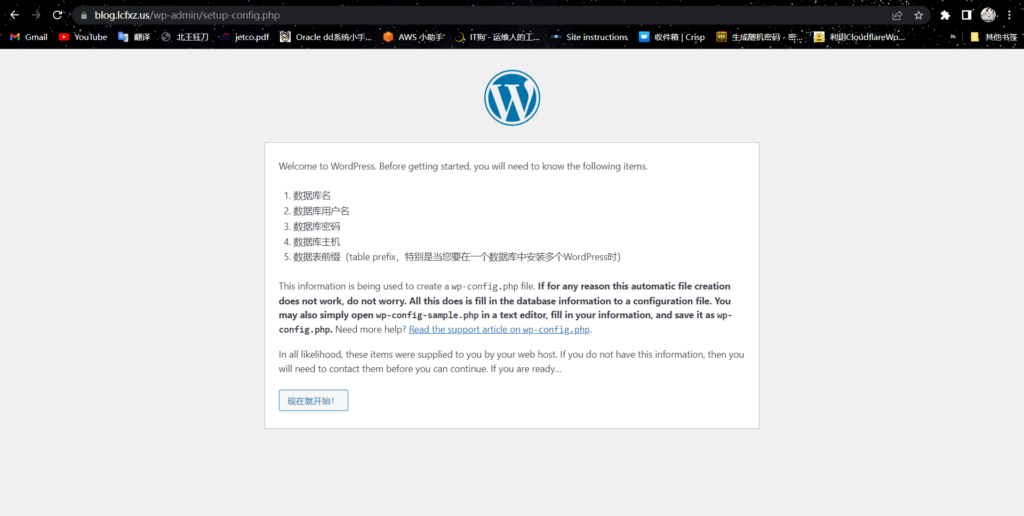
按照安装引导填入数据库信息
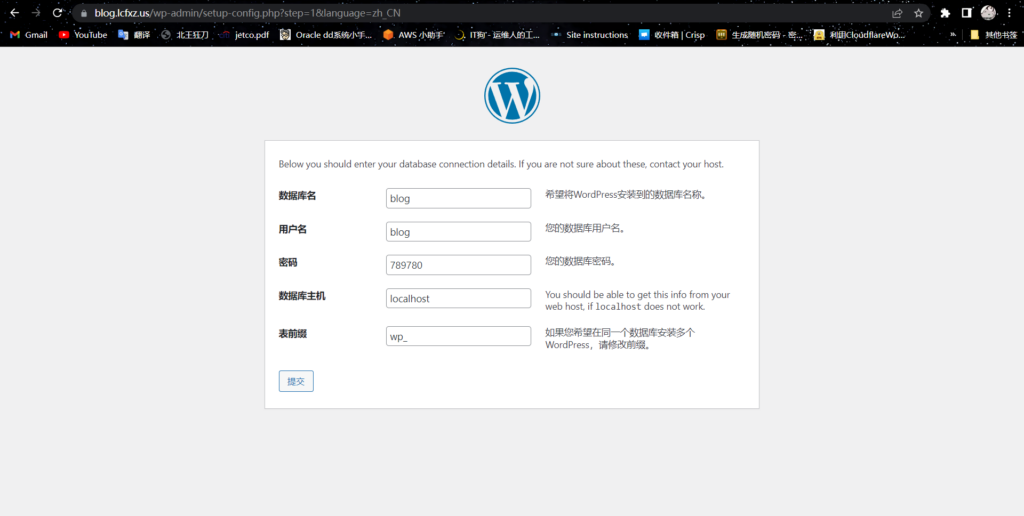
按照引导填入信息
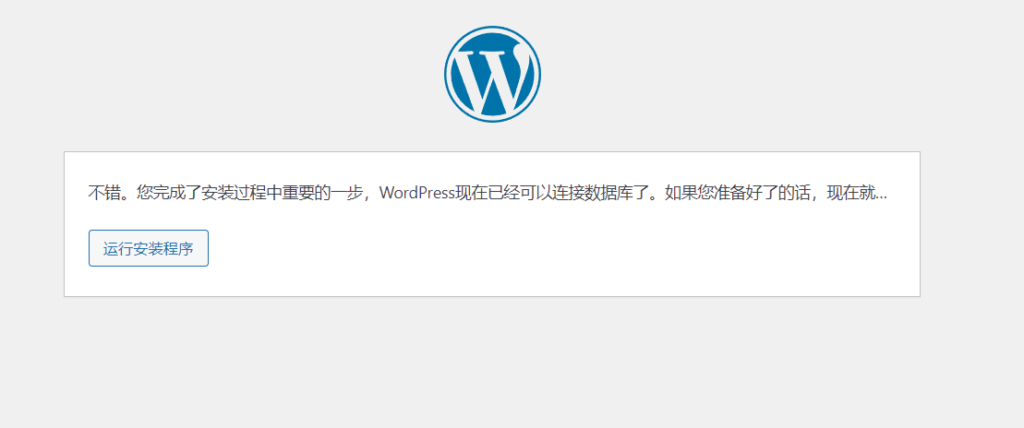
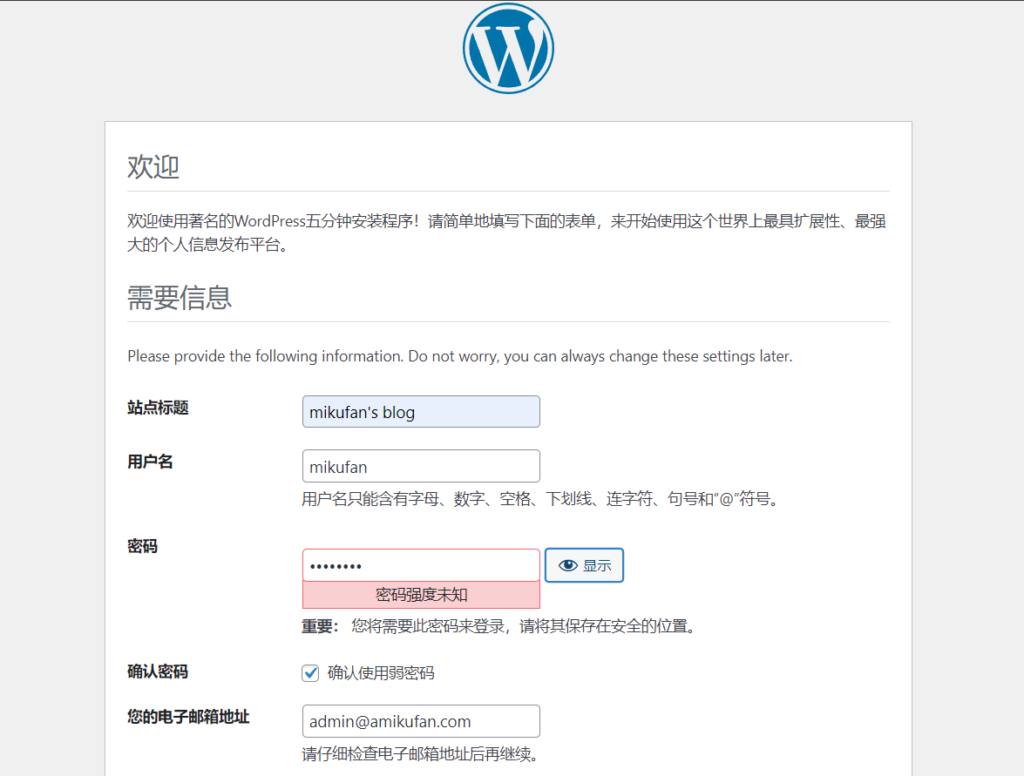
至此,wordpress安装结束,就可以愉快的使用了
Comments | NOTHING